Just Host Web Hosting Help
Easy Apache
Overview
This article will explain how to use Easy Apache to recompile Apache. This is useful if you want to change the version of PHP or change other PHP and Apache settings.
Steps Involved
Click on any of the steps to jump to that point in the walkthrough and see more details.
Login To The WHM
You will need to be able to login to WHM on your server. This requires knowing the root password for your server. If you don't know the root password or haven't set one up please, see https://my.Justhost.com/hosting/help/whm-login#root-password.
- Login to the WHM by going to yourdomain.com/whm in a browser. Replace yourdomain.com with your domain.
- Once you get to the login page enter your username and password.
- Username will be root.
- Password will be the root password for your server. If you don't know the root password or haven't set one up please, see https://my.Justhost.com/hosting/help/whm-login#root-password.
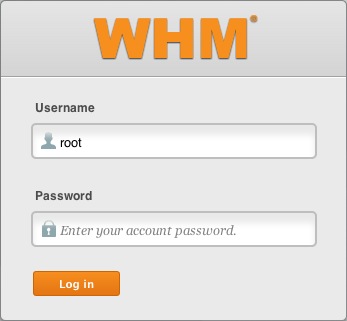
The WHM login page. - If this is your first time logging into the WHM, you may see a page titled "Feature Showcase". Click on Exit to WHM at the bottom of the page.
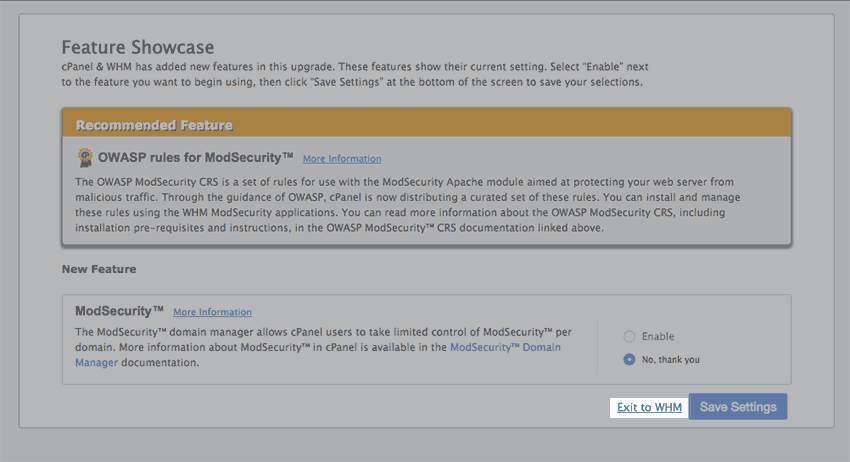
The Feature Showcase page with "Exit to WHM" spotlighted.


Access The Easy Apache Tool
Once you are logged into the WHM, you need to go to Easy Apache
- Type "Easy" into the search box on the left side of the WHM.
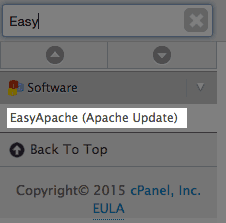
Searching "Easy" in the WHM. - Click "EasyApache (Apache Update)" in the search results.
- Give it a moment to load your profile. Once loaded, click the gear icon for the profile you want to edit, usually default.
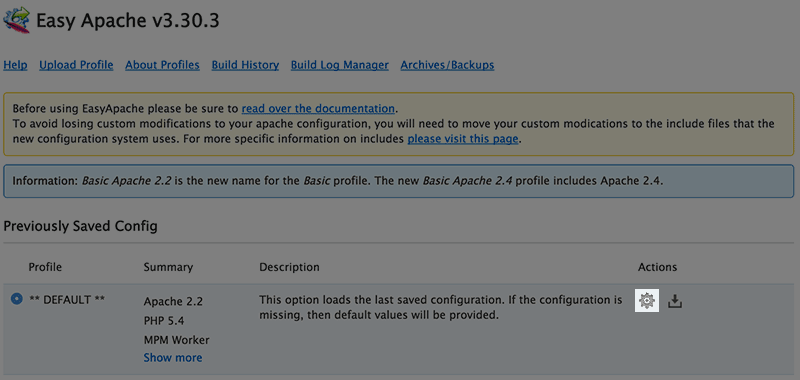
The Easy Apache Profile Page.


Select Your Options
Once you have accessed Easy Apache and chosen a profile, you can select your build options.
Note: Using the default settings should be fine, unless you know specifically that you want to change an option.
- Choose the version of Apache you would like your server to use then click "Next Step"
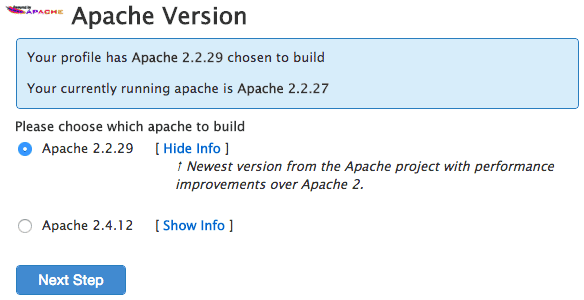
Apache version selection. - Choose the version of PHP you would like.
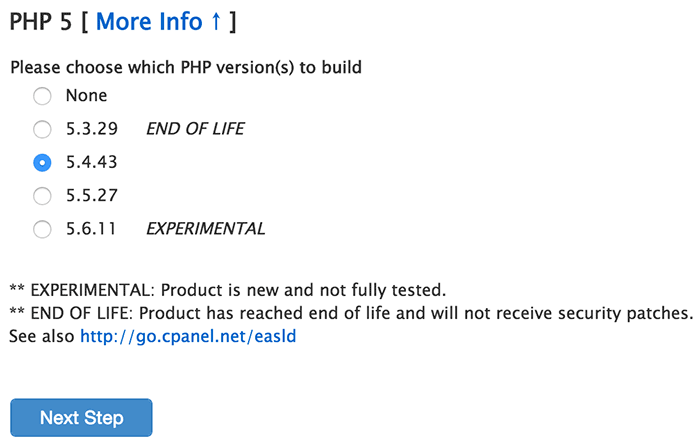
PHP version selection. - Choose the additional modules you would like to add to PHP or Apache.
Note: If you don't see an option you are looking for, scroll to the bottom and click on "Exhaustive Options List".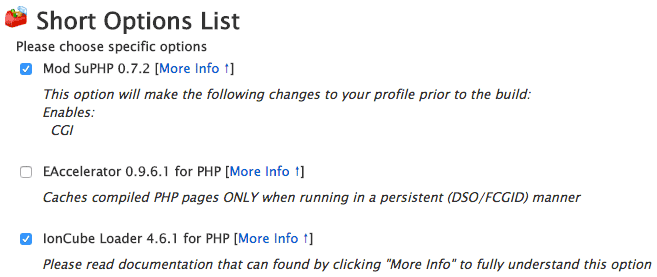
The short options list. - Click the Save and Build button at the bottom of the page.

The save and build button.


The rebuild can take 30-45 minutes depending on the options and the CPU. Once finished, you'll have the apache version and other options you selected running on your server.
 138,351 views
 bookmark
 share
share
 E-mail
 Twitter
 Google Bookmarks
 Facebook
 MySpace
 Digg
Digg Reddit
 Delicious
 LinkedIn
 StumbleUpon
 tags: apache build compile dedi dedicated easy modules version vps